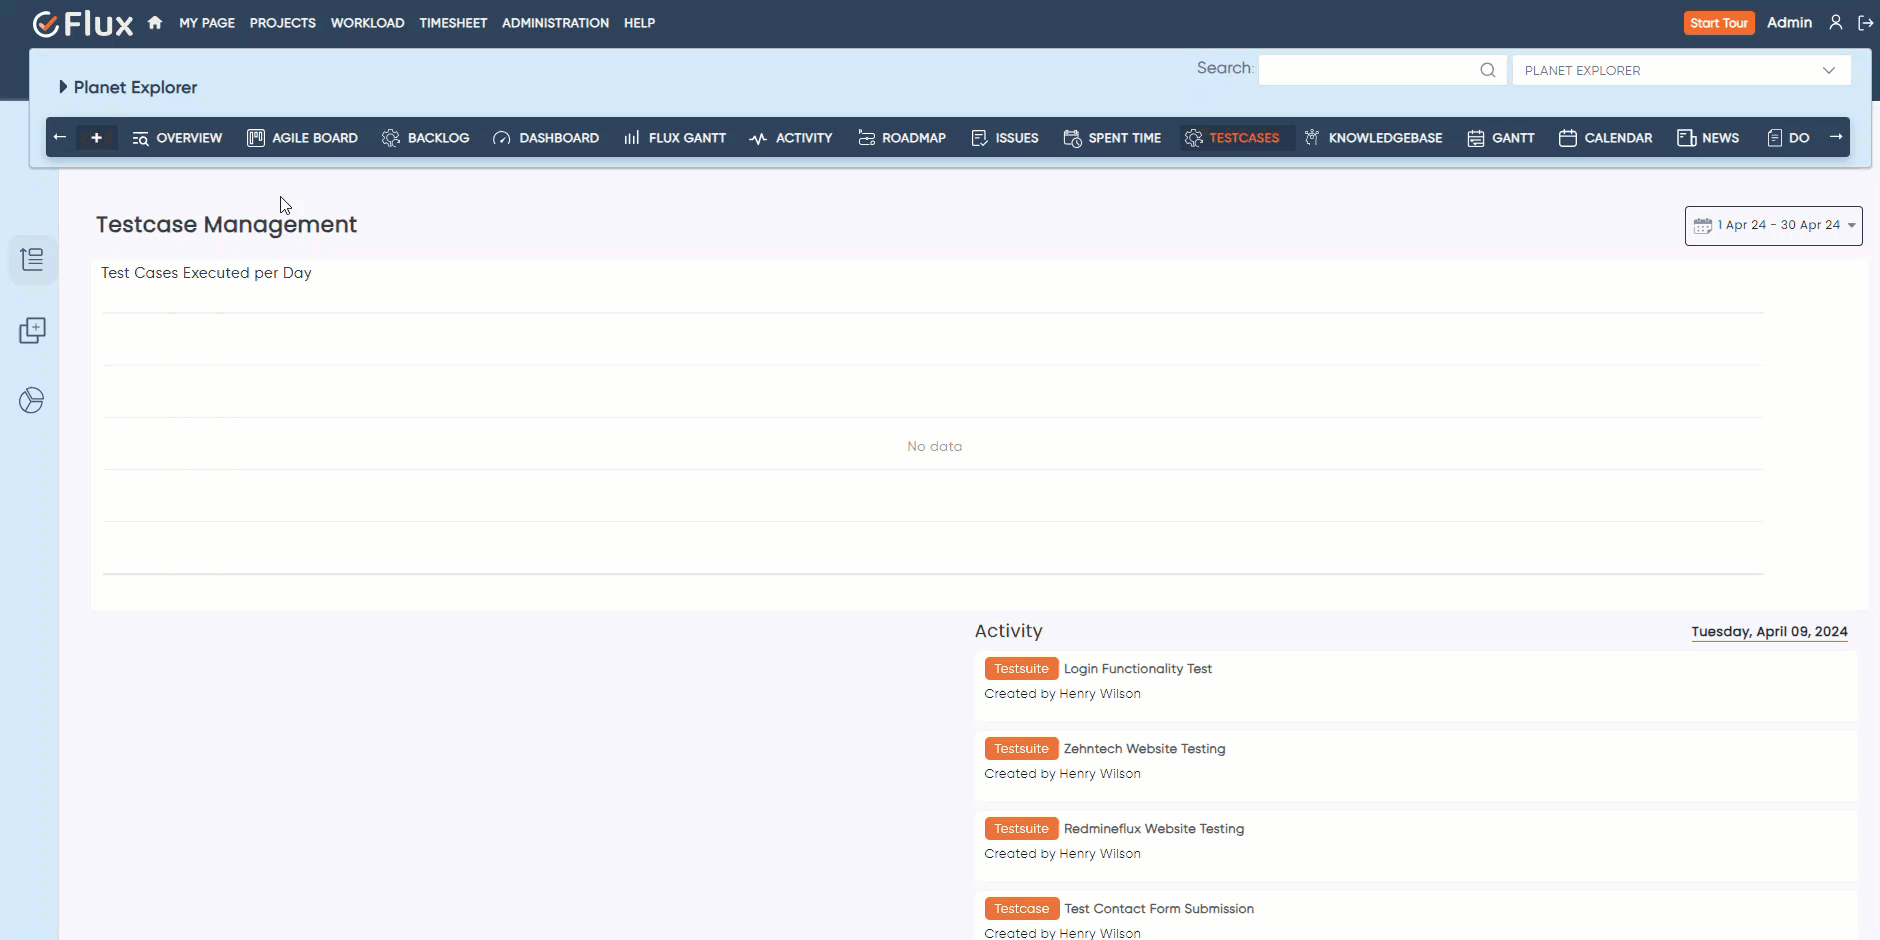
The Redmineflux Testcase Management Plugin is a robust plugin designed to streamline the testing process for software development and QA teams. It simplifies the creation of detailed test cases, including steps, expected outcomes, and conditions. Users can organize these cases into test suites for a more structured testing approach. A key feature of the plugin is its ability to execute these suites, offering not just execution capabilities but also graphical representations of the results. These visuals turn complex data into clear insights, highlighting the success rates of tests and facilitating a quicker understanding of outcomes.
To uninstall the Redmineflux Testcase Management Plugin, follow these steps:
Go to Testcase management plugins directory in Redmine.
Delete the entire Testcase management plugin directory from Redmine/plugins directory. This step removes the plugin files from your Redmine installation.
If the plugin required a migration, run the following command to downgrade your database (make a db backup before): Bundle exec rake redmine:plugins:migrate Name=plugin name VERSION=0 RAILS_ENV=production
Restart the Redmine server to see the changes.
This will uninstall the Redmineflux Testcase Management Plugin from Redmine.
In the Testcase management plugin, you can establish several roles and provide them permissions. In the Testcase Management Plugin, we have different types of permissions, like:
View Testcase: This allows users to see the details of test cases and runs, including attributes, history, and status.
Create Testcase: This grants users the ability to create new test cases and test runs.
Edit Testcase: This permission allows users to modify existing test cases and runs, which can involve changing details or parameters.
Delete Testcase: This grants permission to permanently remove test cases from the plugin. It’s important to restrict this action as it’s typically irreversible.
Execute Testcase: This permission allows users to execute test cases, add results to the testcases. With this permission users can also close the run and create issues with the related testcase.
Log Time: In Testcase management Plugin only users with log time permission in Redmine can log time in testcases. This is the general permission in Redmine Time Tracking permission set.
By assigning these permissions to different roles, you can ensure that users only have access to the functionalities they need to perform their jobs effectively.
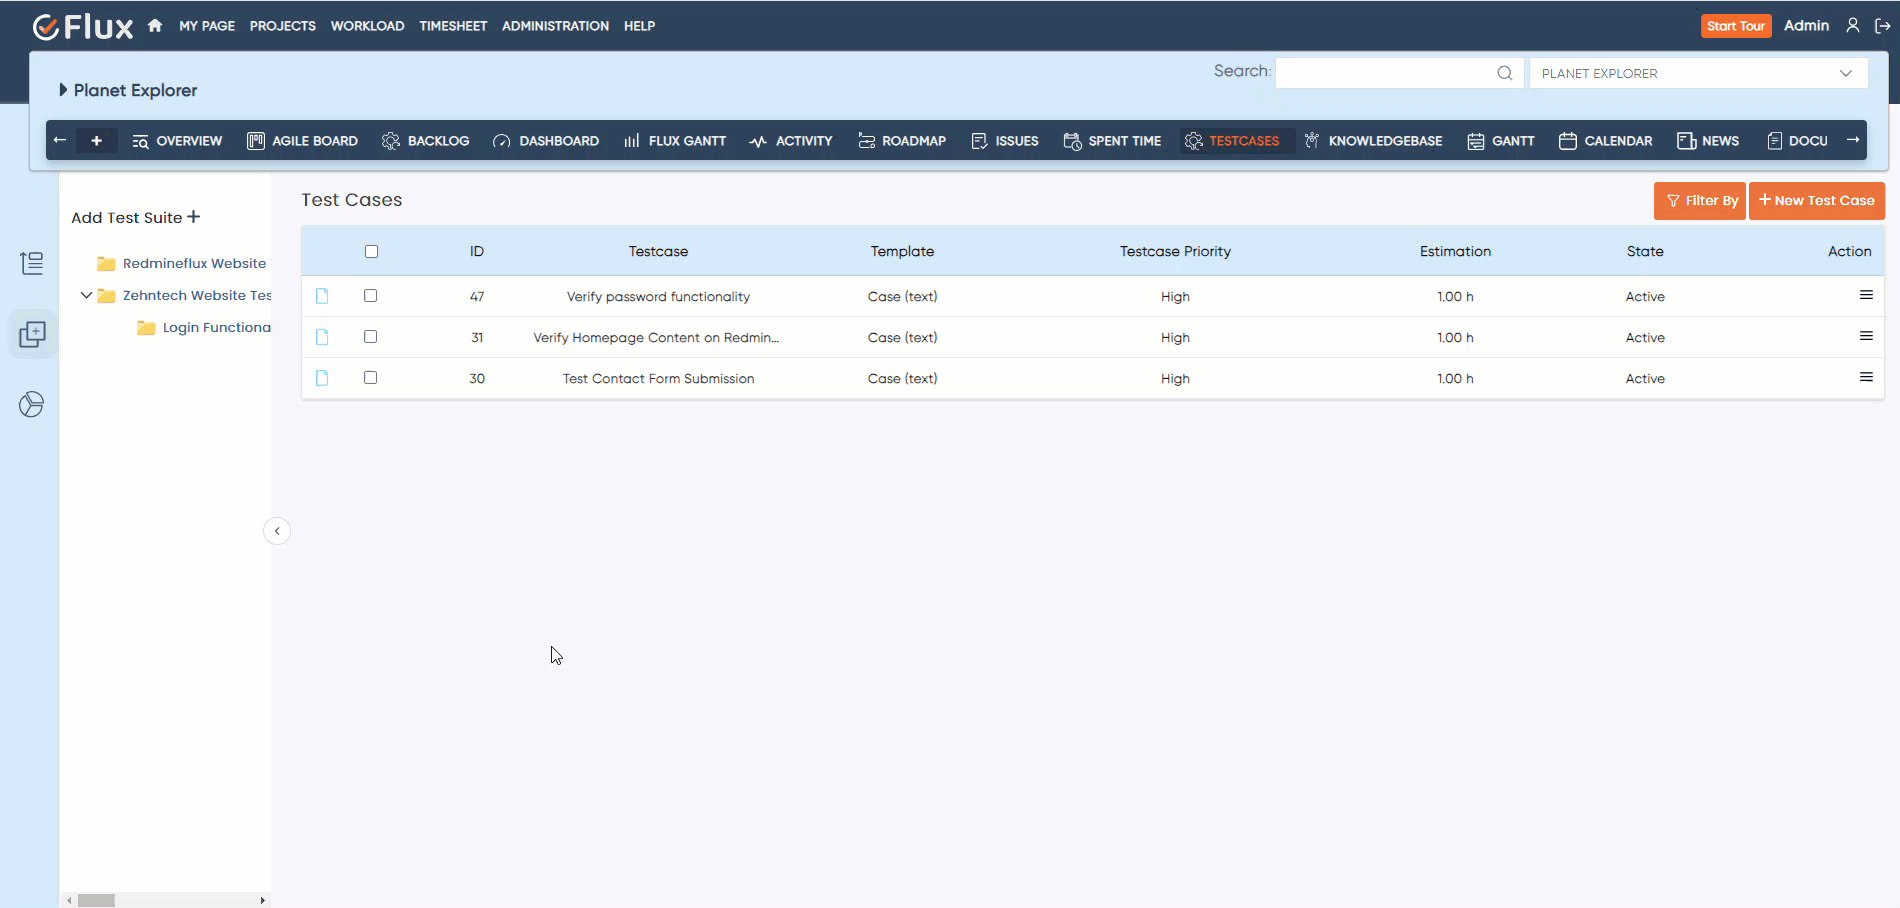
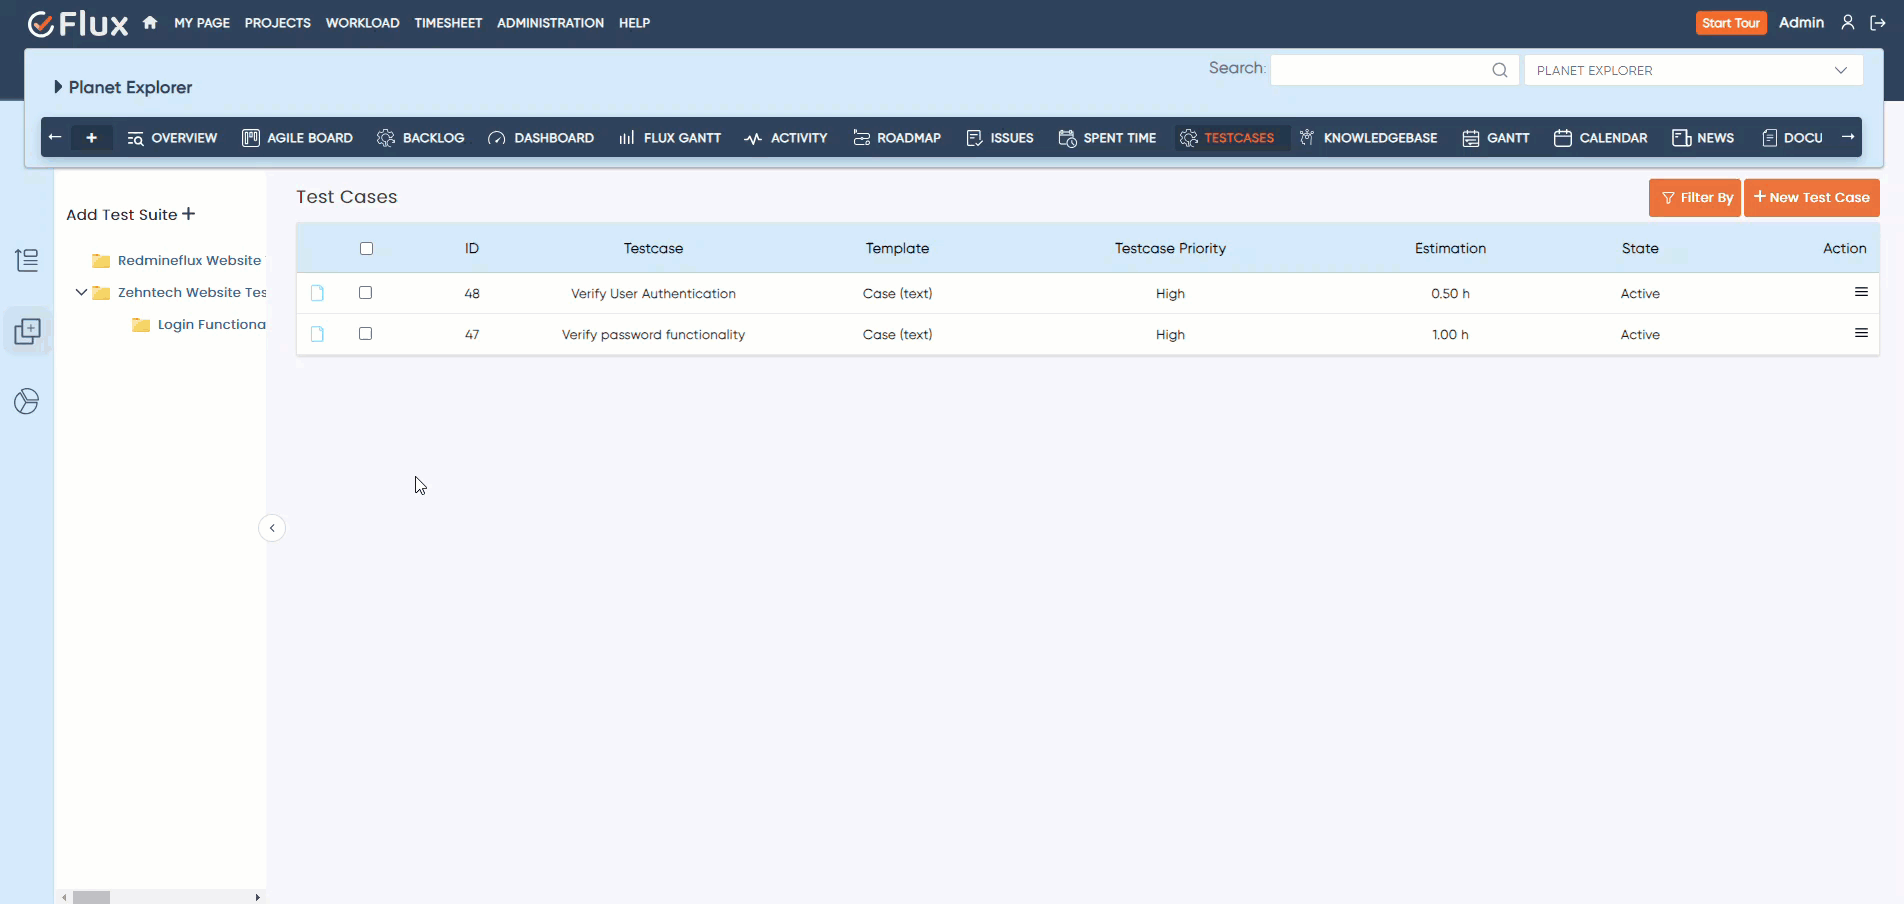
To Add Test Case in Testcase Plugin, follow these steps:
For Adding Testcase in Test case, Click on the “New Test Case” button.
This will open a pop-up window or form. Enter details like the title, description, template, state, and priority of the test case. Optionally, you can also provide the scenario and estimation time for better context.
Once you have filled in all the required fields, click on the “Create Testcase” button to add Testcase.
In One Test suite you can add multiple Testcase or for different Testcases you can create multiple Test suite.
By following these steps, you can effectively create Testcases in Testcase plugin.
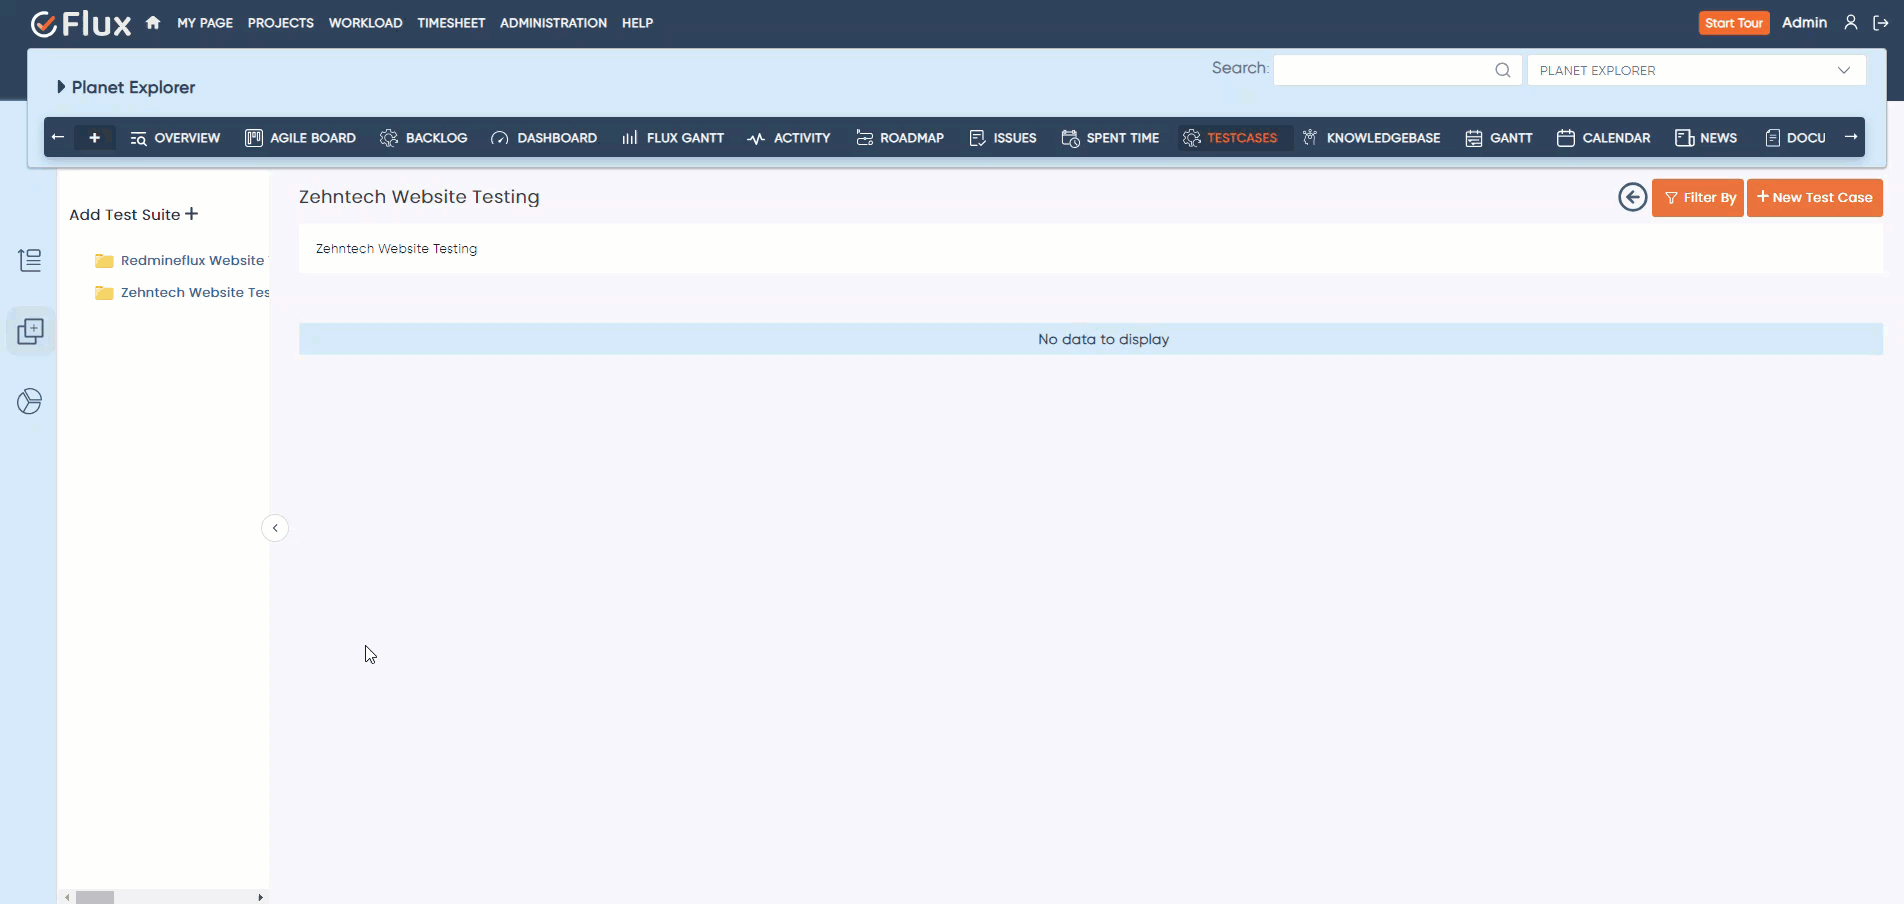
To Add Test Suite in Testcase Plugin, follow these steps:
For Adding Testcase in Test suite, Click on the “New Test Case” button.
This will open a pop-up window or form. Enter details like the title, description, template, state, and priority of the test case. Optionally, you can also provide the scenario and estimation time for better context.
Once you have filled in all the required fields, click on the “Create Testcase” button to add Testcase.
In One Test suite you can add multiple Testcase or for different Testcases you can create multiple Test suite.
To Delete a Testcase in Testcase Plugin follow these steps:
Go to the test suite that includes the testcase you wish to delete.
Within the tabular list of testcases, Find the testcase you wish to edit. Click on the action menu (often represented by hamburger icon) next to the testcase
From the options in the action menu, Select the “Delete Testcase” option. A confirmation prompt appears to ensure you want to proceed with the deletion.
Confirm that you want to delete the testcase. It will then be removed from the test suite.
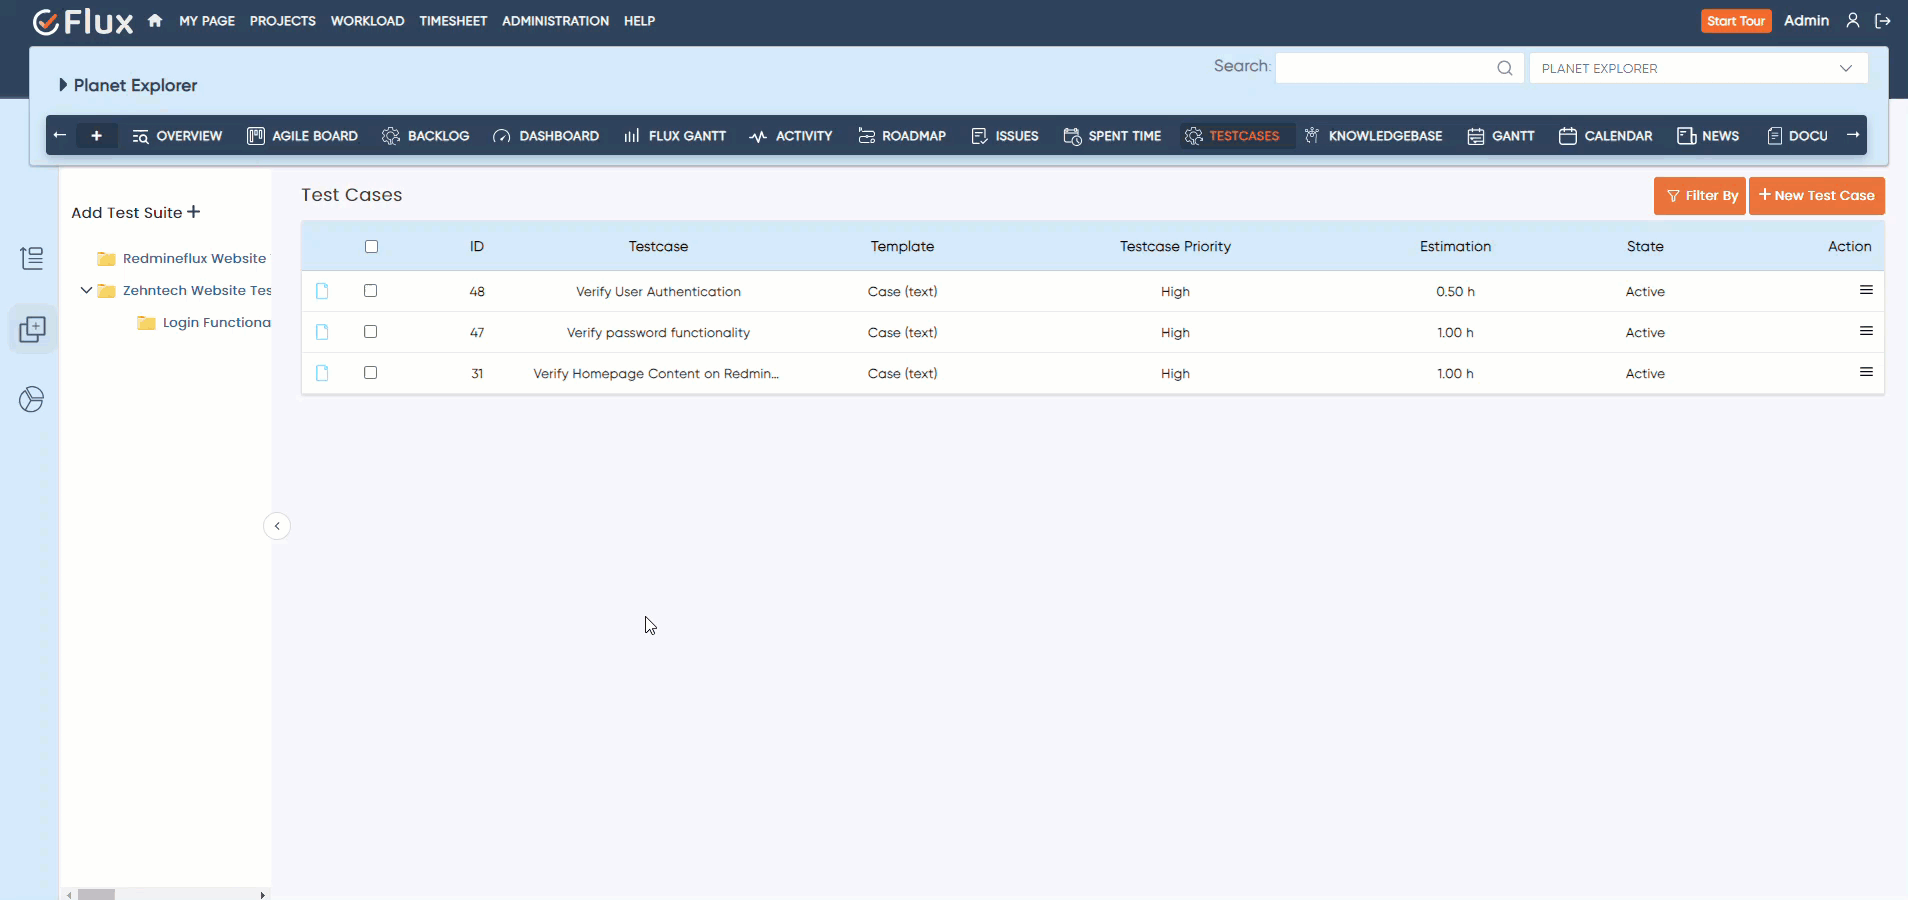
To Add Test Case in Test suite, follow these steps:
Access the testcase of desired project.
Go to “Test Cases” tab from the sidebar.
Open “Test suite” sidebar by clicking on the icon.
Click on the specific “Test suite”, in which you have to add testcases.
Now click on the “New Test Case” button.
This will open a pop-up window or form. Enter details like the title, description, template, state, and priority of the test case. Optionally, you can also provide the scenario and estimation time for better context.
Once you have filled in all the required fields, click on the “Create Testcase” button to add Testcase.
In One Test suite you can add multiple Testcase or for different Testcases you can create multiple Test suite.
By following these steps, you can effectively create Testcases in Test suites.
To add sub folder in Test suite, follow these steps:
Go to “Test Cases” tab from the sidebar.
Click on the button that opens the “Test suite” sidebar. This action will reveal all the test suites you have created within the plugin.
Find the Test Suite to which you want to add a sub-folder. Look for an action icon (often represented by hamburger icon) associated with the Test Suite folder. Click on this icon to reveal available options.
In the menu that appears, look for the “Add sub-folder” option and click on it. This selection indicates that you want to create a new organizational layer within the Test Suite.
A pop-up window should appear, prompting you to provide details for the new sub-folder. You will typically need to enter the sub-folder name and description for creating sub-folder.
After filling in the necessary information, click on the “Create” button. This action will create the new sub-folder within the specified Test Suite.
By following these steps, you can easily add sub-folder to a Test suite in Testcase Plugin.
To Edit a Test suite in Testcase Plugin follow these steps:
Go to “Test Cases” tab from the sidebar.
Click on the button that opens the “Test suite” sidebar. This action will reveal all the test suites you have created within the plugin.
Find the test suite you wish to edit. Look for an action icon (often represented by hamburger icon) on or near the test suite’s folder or name.
Click on the action icon, and a menu should appear offering several options, including “Edit Test Suite.” Select this option to start editing the test suite.
Modify the test suite’s name, description, or any other editable details as needed to reflect the changes you want to make.
After making the necessary edits, ensure to save your changes. This will update the test suite with the new details you’ve provided.
By following these steps, you can efficiently manage your test suites in Testcase plugin.
To Delete a Test suite in Testcase Plugin follow these steps:
Go to “Test Cases” tab from the sidebar.
Click on the button that opens the “Test suite” sidebar. This action will reveal all the test suites you have created within the plugin.
Find the test suite you wish to edit. Look for an action icon (often represented by right arrow icon) on or near the test suite’s folder or name.
In the menu that appears, select the “Delete Test suite” option. You might be prompted with a confirmation dialog box asking if you’re sure you want to delete the test suite.
If you’re certain you want to proceed, confirm the deletion. Keep in mind that this action is irreversible.
By following these steps, you can efficiently manage your test suites in Testcase plugin.
To log time for testcase in the Testcase management plugin, follow these steps:
You can log time in a particular testcase from Testcase plugin, for which you must go to Testcase detail view page.
On the testcase detail view page, look for a button or link labeled “Log time” or something similar. This option is specifically for adding time entries to your testcase.
Clicking on the “Log time” button will open a pop-up window or form. Here, you’ll need to enter several pieces of information:
Enter the date and time on which you want to log the time for the testcase and select the testcase activity.
Optionally, provide a comment related to the logged time to provide additional context or details.
Once you have filled in all the required fields, click on the “Save” button to log the time, which will be associated with the testcase.
If you decide not to log time, you can click on the “Cancel” button to discard the time entry.
By following these steps, you can effectively log time for testcase within the Testcase management plugin.
How to add Testcase through drag and drop in Test Suite#
To add Testcase through drag and drop in Test suite, please follow these steps:
Access the Testcase plugin for the specific project.
Go to “Test Cases” tab from the sidebar.
Open “Test suite” sidebar by clicking on the button.
Find the Testcase you want to add in Test suite.
Click and hold the testcase with your mouse cursor. Begin dragging it towards the target test suite.
As you drag the testcase, navigate to the “Test suite” sidebar where you’ll see the list of test suites. Drag the testcase over the desired test suite. Carefully position it where you want it to be added.
Once the testcase is correctly positioned over the target test suite, release the mouse button. This action drops the testcase into the test suite.
After dropping the testcase, it should now be part of the target test suite.
By following these steps, you can easily add Testcase through drag and drop to Test suite folder.
To copy the testcase in any test suite follow the below steps:
Access the Testcase plugin for the specific project.
Go to “Test Cases” tab from the sidebar.
Open “Test suite” sidebar by clicking on the button.
From the testcase list, find the Testcase you want to add in Test suite.
Drag the testcase over the desired test suite. Carefully position it where you want it to be copied.
Once the testcase is correctly positioned over the target test suite, release the mouse, and the model will open the containing multiple option click on copy to copy the testcase in that test suite.
By following these steps, you can easily copy Testcase to Test suite folder.
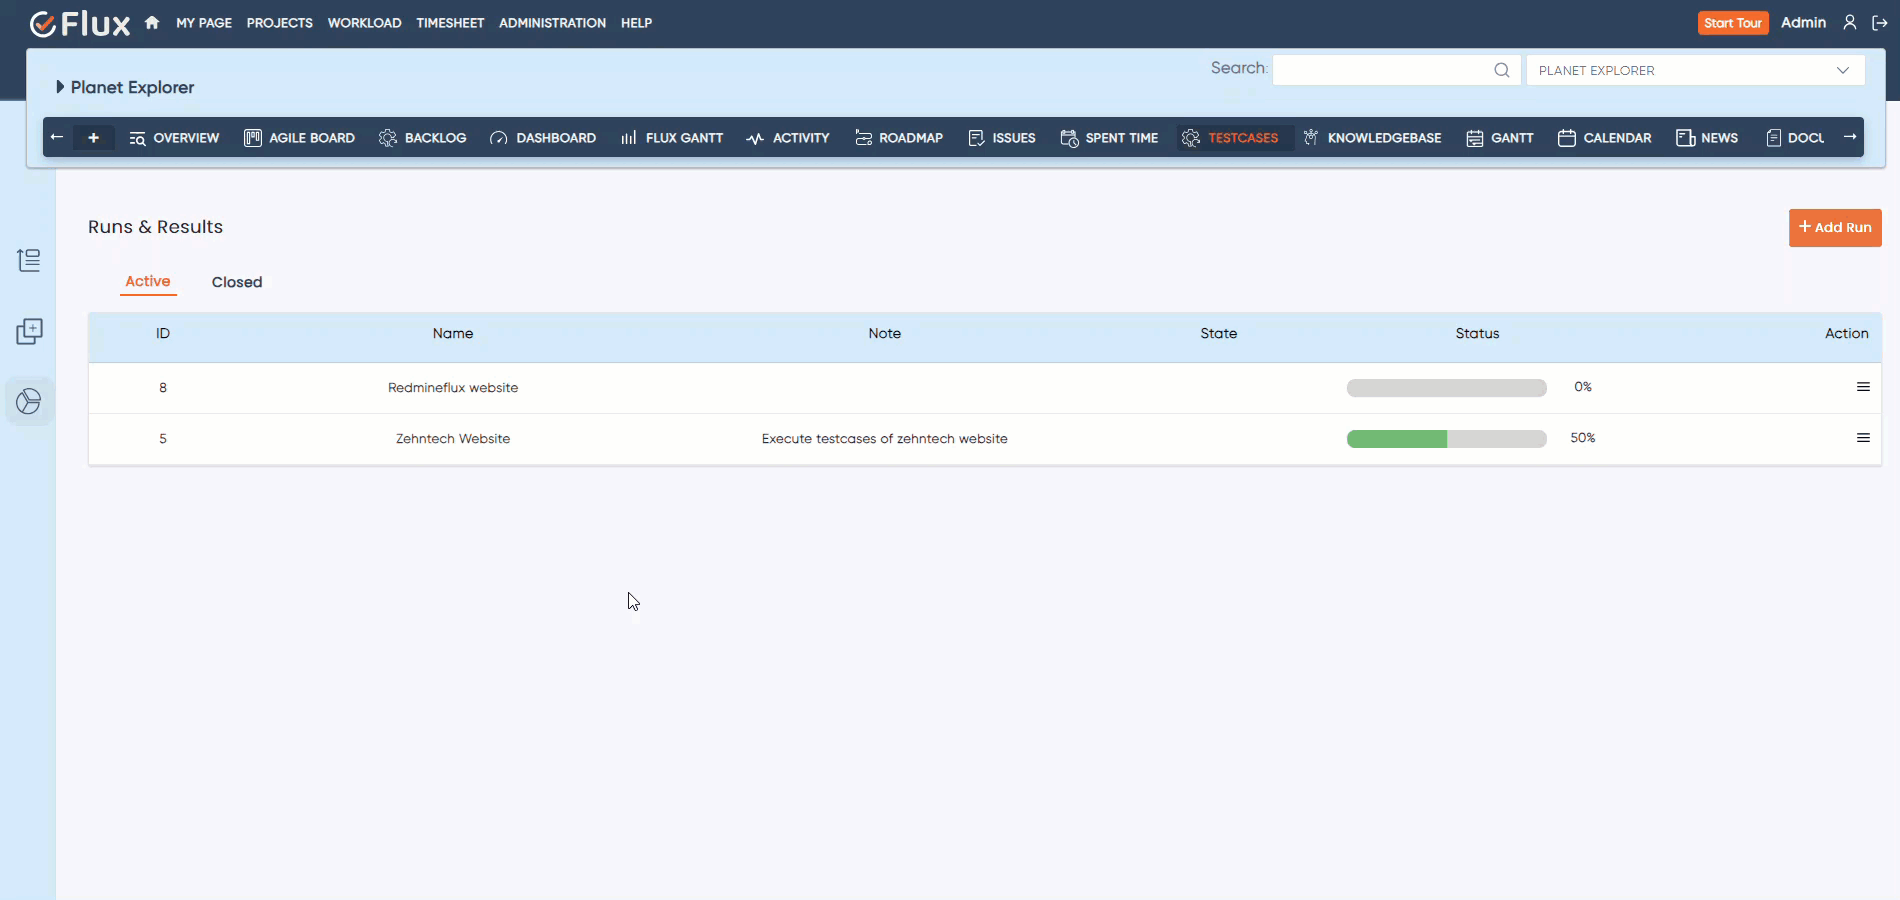
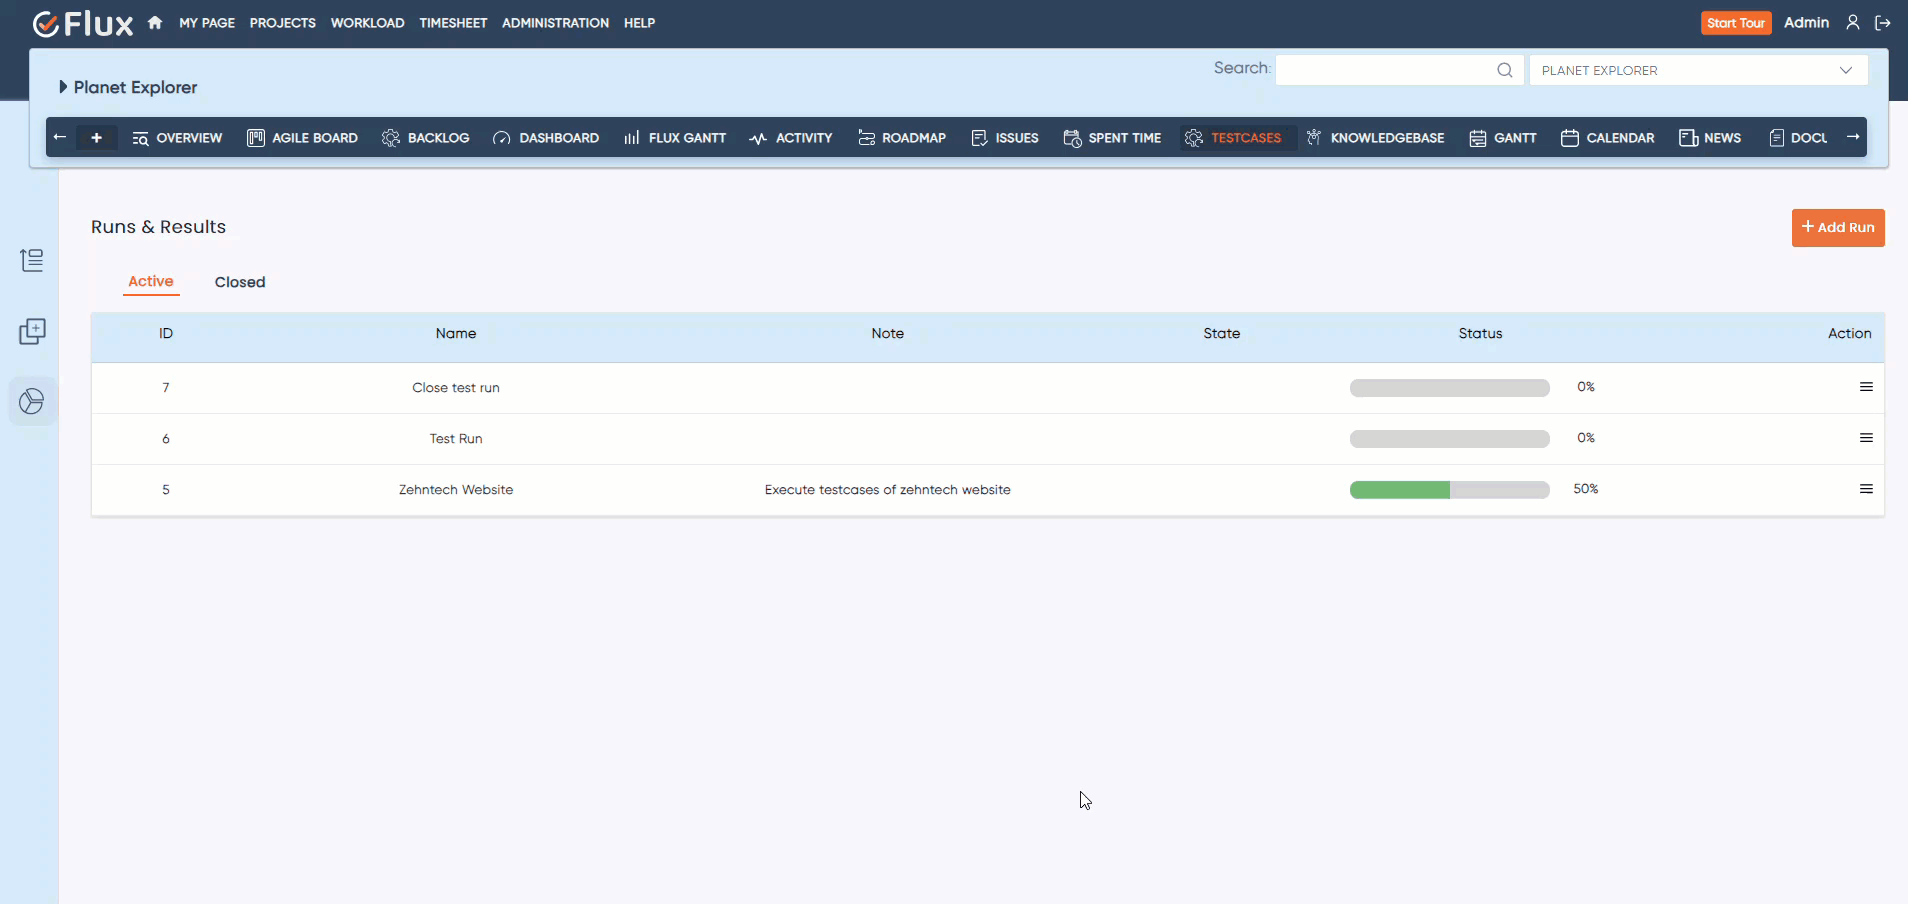
To create the run in Testcase management plugin, follow these steps:
Access the Testcase plugin for the specific project.
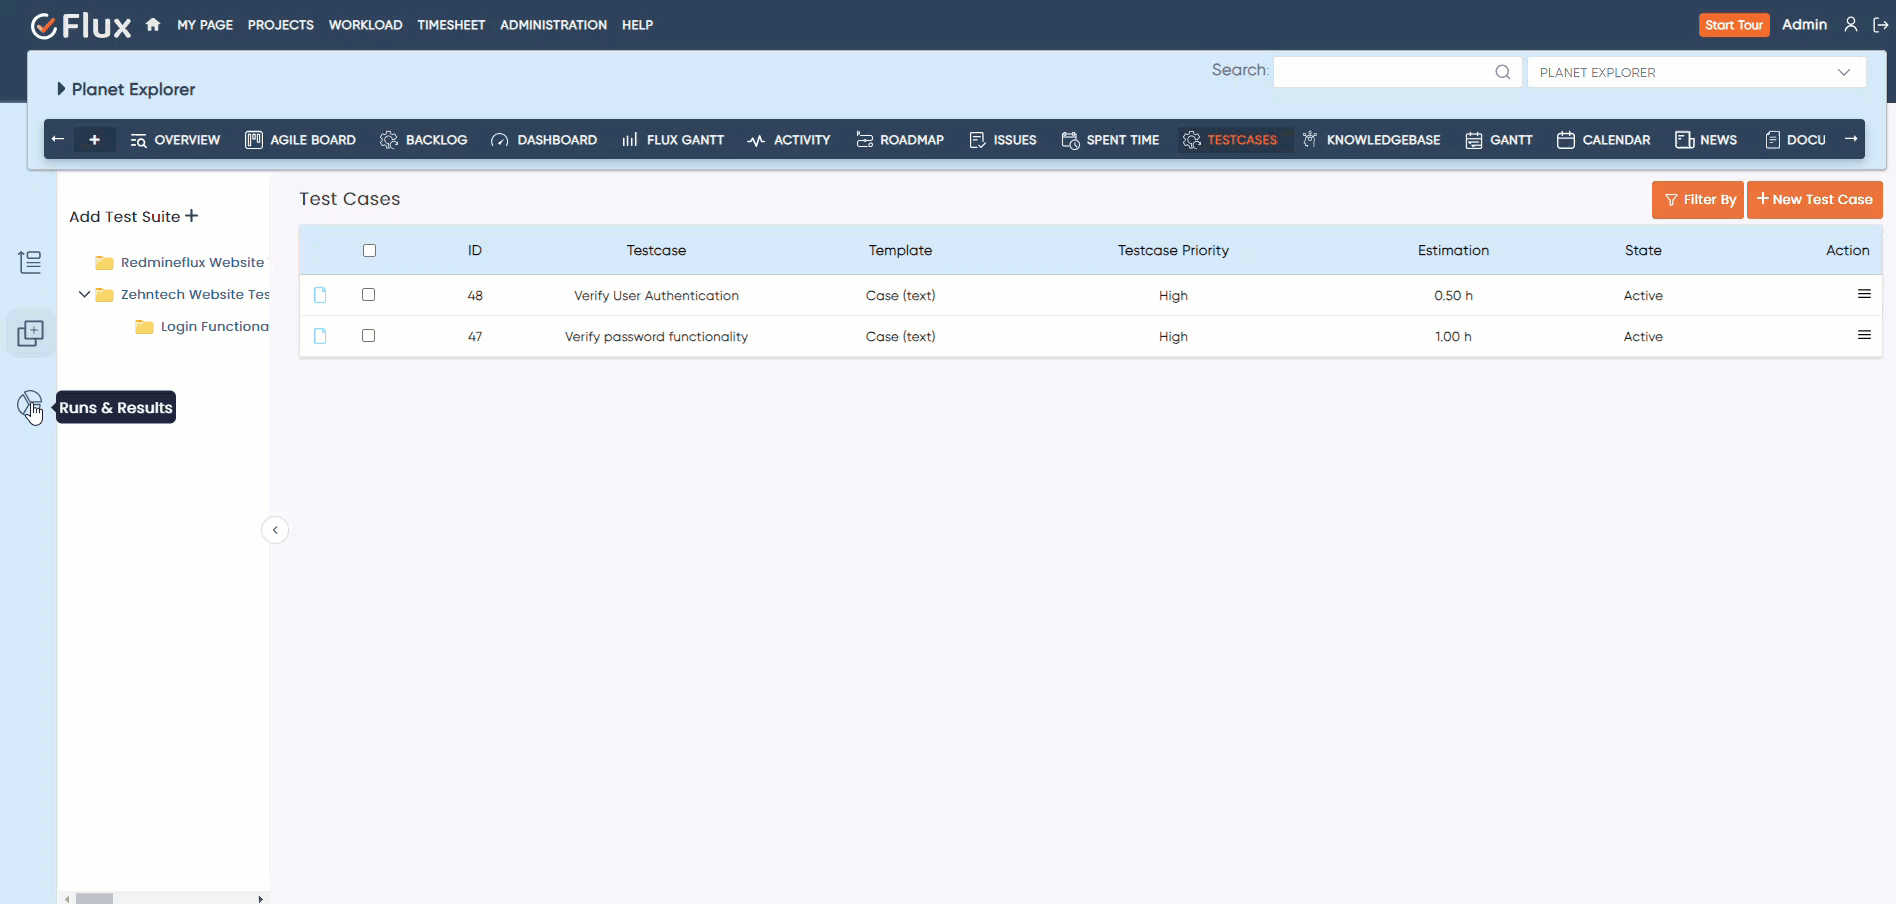
Go to “Runs & Results” tab from the sidebar.
Look for the “Add Run” button, which is usually present in a prominent place within the “Runs & Results” section. Clicking on this button will initiate the process of creating a new run.
A pop-up window will appear, providing fields for you to enter details about the new run. Here’s what you’ll typically need to provide:
Name of Run: Enter a descriptive name for the run that helps identify its purpose or the scope of testing.
Select Testcases: Choose which test cases to include in the run. You often have two options:
Include all test cases: This option adds all available test cases to the run.
Select cases to include: Allows you to manually select specific test cases to be included in the run.
Note (Optional): Enter any relevant notes that provide additional context or instructions for the run.
State for Run (Optional): Some plugins allow you to set a preliminary state for the run, such as “Planned”, “In Progress”, or another relevant status.
Optionally, provide a Note and state for Run.
After filling in all the necessary information, click on the “Create” button to finalize the creation of the new run. This action will add the run to your project’s Testcase management system.
Once created, the new run will appear in tabular form within the “Runs & Results” section. Here, you can view its details and execute the testcase.
By following these steps, you can easily create a run from Testcase management plugin.
To edit a Run in Testcase management plugin, follow these steps:
Access the Testcase plugin for the specific project.
Go to “Runs & Results” tab from the sidebar. This section houses all your test runs and their outcomes.
Find the run you wish to edit and click on its action button. A toggle menu will appear with several options, including “Edit Run.” Selecting this option will begin the editing process.
Upon clicking “Edit Run,” a pop-up window will appear. Here, you’re prompted to make your desired changes. You can update the run’s name and decide which test cases to include in the run. You have two options for selecting test cases: “Include all test cases” or “Select cases to include,” allowing for flexibility in run configuration.
After making the necessary adjustments and selecting the appropriate test cases, click on the “Update” button. This will save your changes and update the run in the Testcase management plugin.
By following these steps, you can easily update a run from Testcase management plugin.
To delete a Run in Testcase management plugin, follow these steps:
Access the Testcase plugin for the specific project.
Go to “Runs & Results” tab from the sidebar. This section houses all your test runs and their outcomes.
Find the run you wish to delete and click on its corresponding action button. This will open a toggle menu with various options, including “Delete Run.” Selecting this option initiates the deletion process.
After choosing to delete a run, a confirmation prompt will likely appear. This step is crucial as it prevents accidental deletion of important data. Review the prompt to ensure you’re deleting the correct run.
To proceed with the deletion, click the “Delete” button within the confirmation prompt. This action will permanently remove the run from the Testcase plugin.
By following these steps, you can easily remove a run from Testcase management plugin.
To close a run in Testcase management plugin, follow these steps:
Access the Testcase plugin for the specific project.
Go to “Runs & Results” tab from the sidebar. This section houses all your test runs and their outcomes.
Identify the specific run you wish to close. Each run will have an action button associated with it. Clicking this button will open a toggle menu with several options, including one for “Close Run”.
Within the toggle menu, find and click on the “Close Run” option. This action might prompt a confirmation window or message to ensure that you intend to close the run.
If a confirmation prompt appears, proceed to confirm your intention to close the run by clicking the “close run” button or an equivalent confirmation option.
After successfully closing the run, it will no longer appear in the active runs list. To view it, navigate to the “Closed” tab within the “Runs & Results” page. Here, you’ll find all runs that have been marked as closed.
By following these steps, you can easily close a run from Testcase management plugin.
To execute a Run in testcase Management Plugin, follow these steps:
Access the Testcase plugin for your specific project by going to the “Runs & Results” tab present in the sidebar.
Click on the name of the Run you are interested in executing. This will display all the testcases that have been added to this Run.
To add a result for a specific testcase, click on the action button . A menu will appear with an option labelled “Add Result”; select this option to proceed.
A pop-up window will appear, where you are prompted to select the status of the Testcase. The available statuses are Untested, Passed, Failed, Retest, Blocked, and Skipped. Select the status that accurately reflects the outcome of the testcase execution.
If the Testcase status is set to Failed, a “Report Bug” button becomes visible. Clicking on this button allows you to directly create a new issue associated with the failed testcase.
Optionally, for any status, you can select an assignee for the testcase, add attachments as evidence or for further documentation, and write a note to provide additional context or details about the execution of the testcase.
After selecting the testcase status and filling in any optional information, click on the “Save” button to update the testcase with its new status. This action records the result of the testcase as part of the Run, ensuring a comprehensive track of all outcomes.
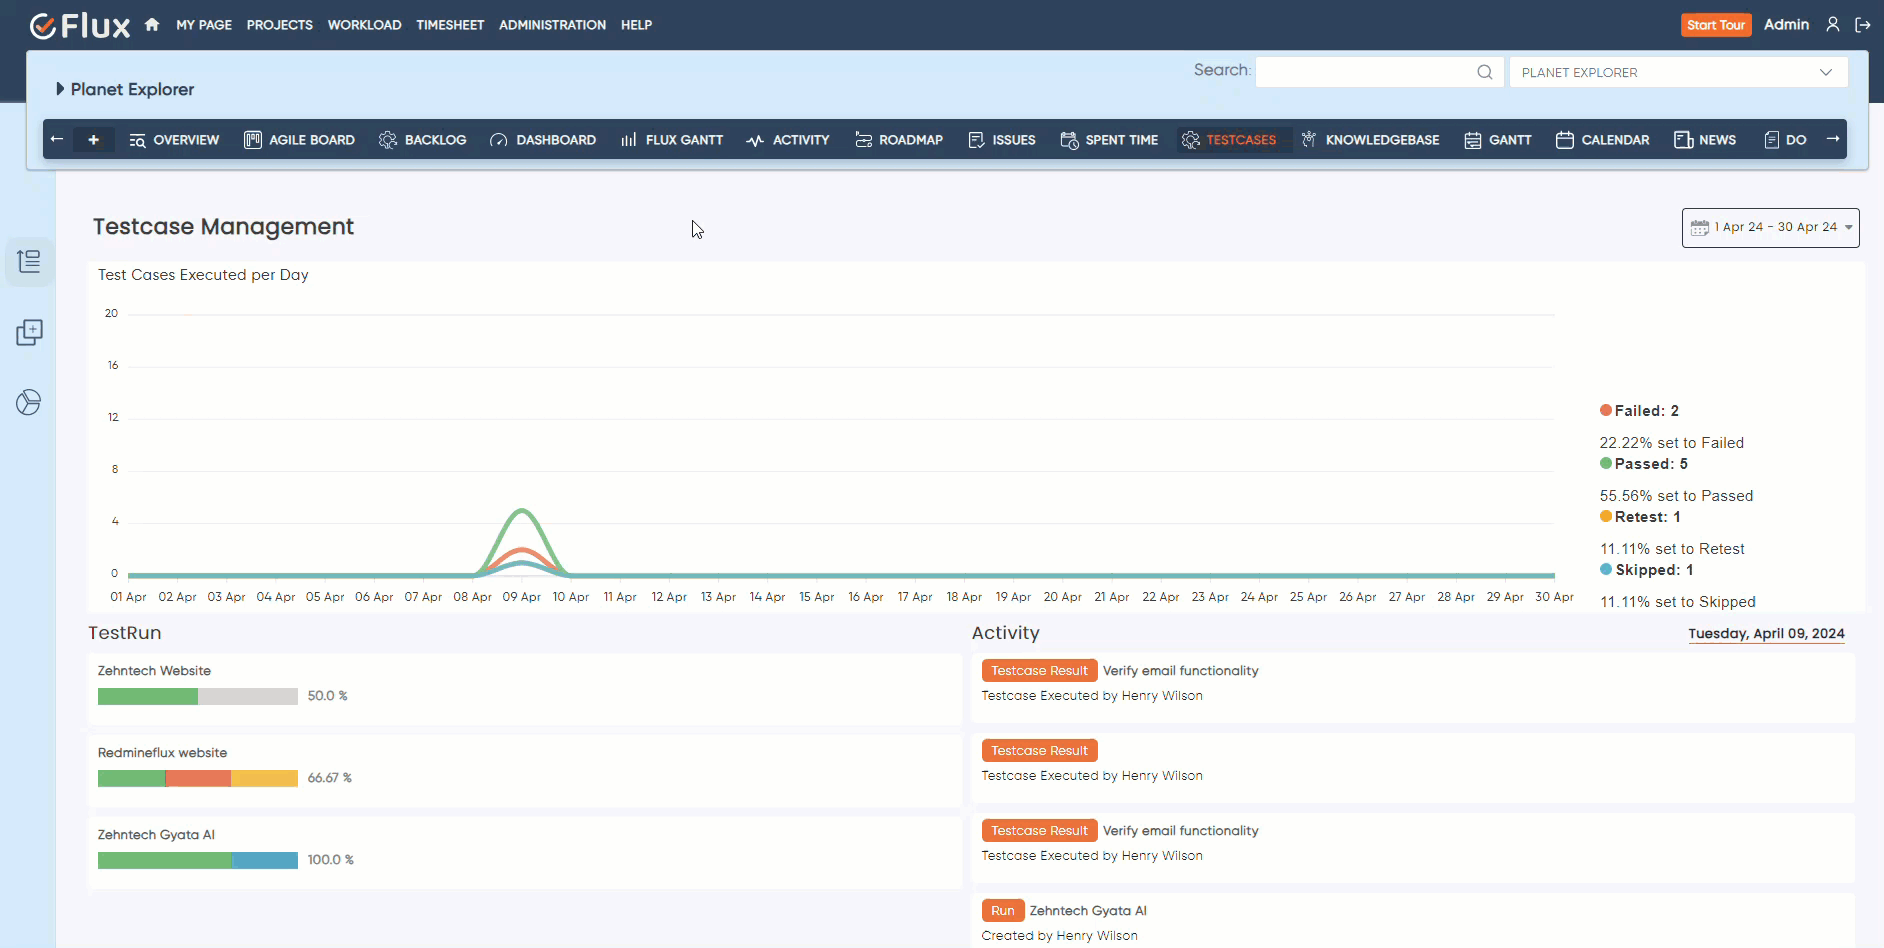
After successfully saving the testcase with its status, the system automatically updates a visual chart to reflect the result. This chart uses different colors to represent various statuses, providing a clear and immediate visual feedback of the test outcomes. The color update is a visual confirmation of the save operation, allowing users to quickly grasp the overall status of test executions within a Run.
By following these steps, you can easily execute a run in Testcase management Plugin.
If you encounter any issues or problems with Redmineflux Testcase Management plugin, you can follow these troubleshooting steps to resolve them:
Clear your browser cache: Sometime, browser cache can interfere with the proper functioning of plugins. Clear your browser cache and try again.
Check plugin compatibility: Ensure that the installed version of Testcase Management Plugin is compatible with your Redmine installation.
Restart Redmine server: Restarting Redmine and server can often resolve temporary issues or conflicts. Restart the Redmine application server, and then try again.
Verify plugin installation: Double check the Testcase Management Plugin to be correctly installed and enabled in your projects.
Disable conflicting Plugins: Conflicts between different plugins can cause issues. Temporarily disable any other plugins that may be conflicting with the Testcase management Plugin and see if the issue persists. If the problem resolves, try enabling the conflicting plugins one by one to identify the specific conflict.
Report the Issue: If you are unable to resolve the issue, consider reporting it to the plugin’s developers or support team. Provide detailed information about the problem, including steps to reproduce it and any error messages encountered.
In summary, the Redmineflux Testcase Management Plugin significantly optimizes software testing by facilitating easy creation, organization, and execution of test cases and suites. Its graphical results presentation feature enhances the efficiency and clarity of the testing process, making it an indispensable tool for improving software quality within development and QA teams.