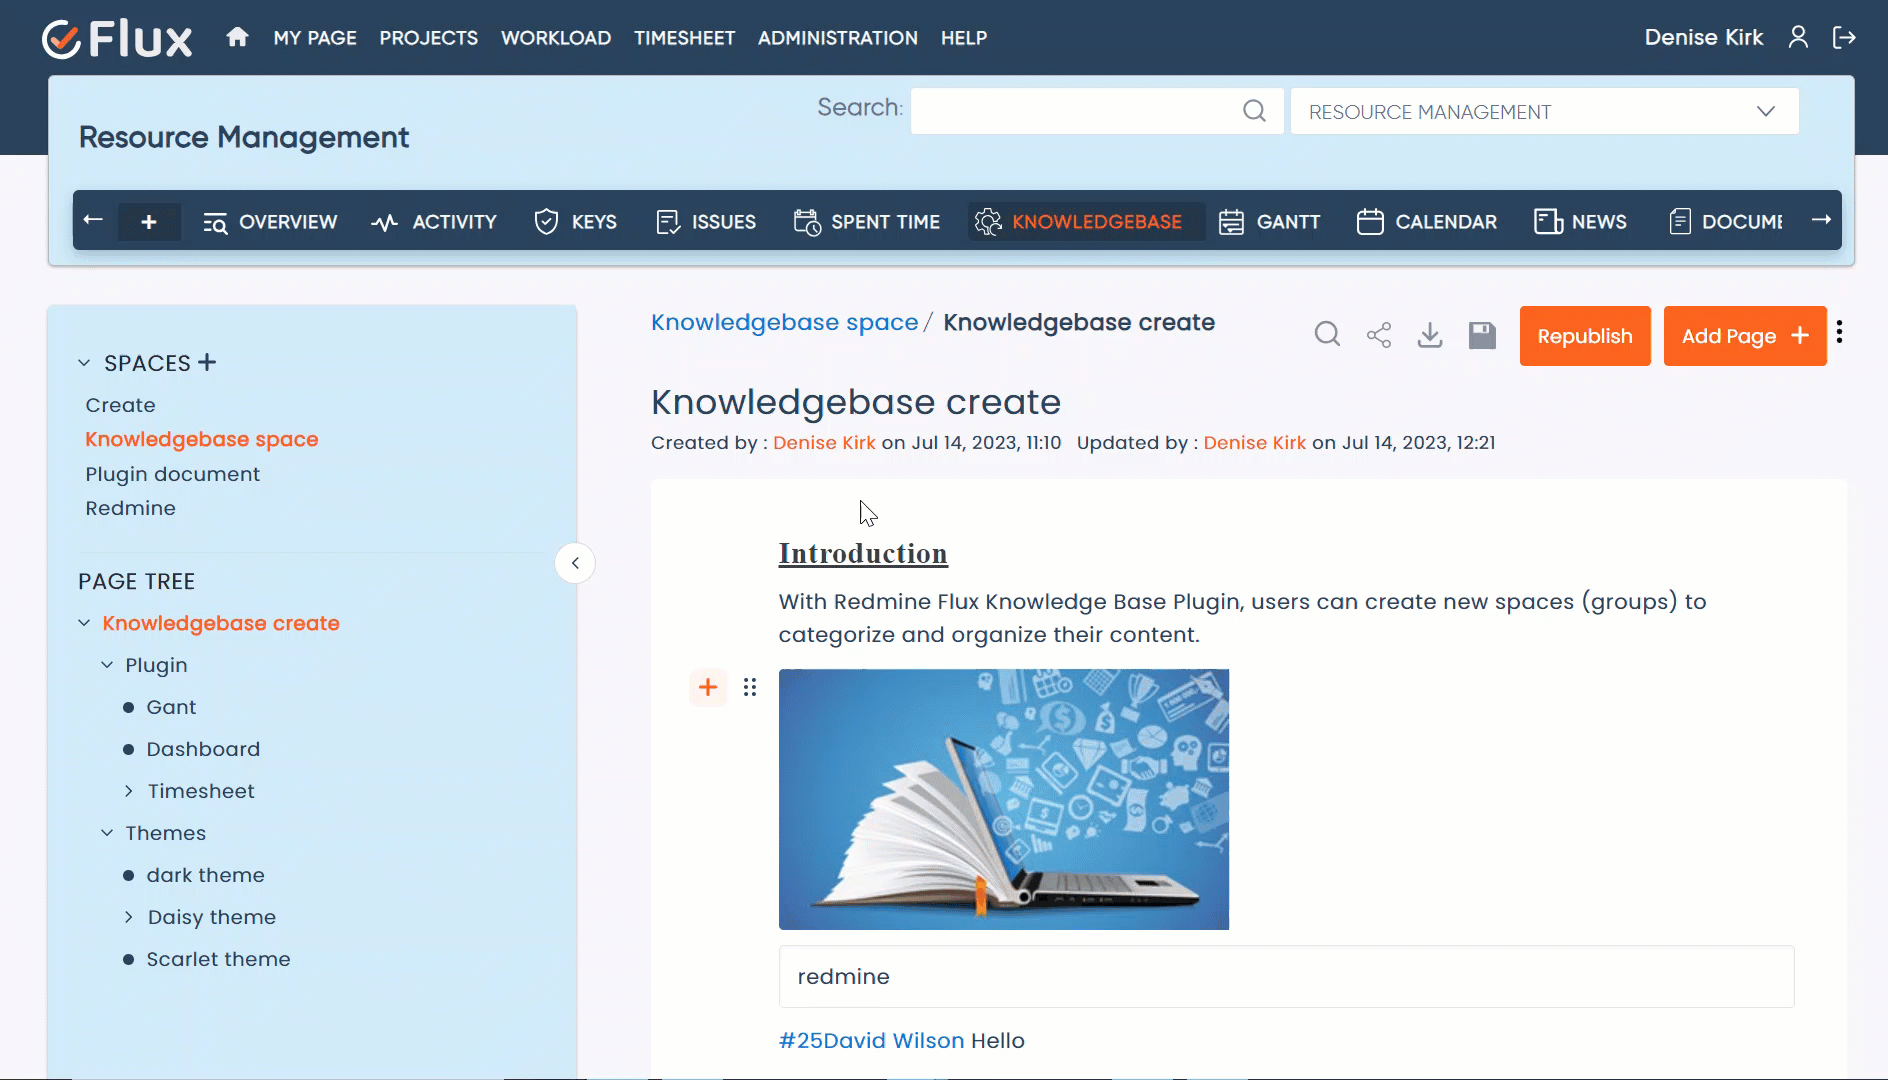
Introduction #
The Redmine Flux Knowledge Base Plugin is a powerful extension for the Redmine project management application that allows you to create and manage a knowledge base within your Redmine installation. This plugin enhances the collaboration and information-sharing capabilities of Redmine by providing a dedicated space for organizing and accessing knowledge articles.
Version Compatibility #
Redmine Versions
- 4.0.x, 4.1.x, 4.2.x
- 5.0.x
- 6.0.x(coming soon)
Installation #
To install Redmine Knowledge Base Plugin follow these steps
- Make sure you have a working installation of Redmine.
- Download the Knowledge Base Plugin from the redmineflux.com website. The plugin typically comes in the form of a ZIP file.
- Extract the Knowledge Base Plugin zip file to Redmine’s plugins directory (/path/to/redmine/plugins) and do not change the plugin folder name.
- Run the following command to install the required dependencies
Bundle install - Run migrate command for database migration
-> In Production - Run migrate command for database migration
-> In ProductionRAILS_ENV=Production bundle exec rails redmine:plugins:migrate
-> In Development
RAILS_ENV=Development bundle exec rails redmine:plugins:migrate - Restart Redmine server to load the plugin
Rails s
Configuration #
- Log in to Redmine as an administrator.
- Navigate to the project tab, choose a project where you want to use the knowledge base plugin.
- Click on the “Setting” tab in the header tabs.
- Select the “Modules” option.
- Enable the “Knowledgebase” module by checking the corresponding checkbox.
- Save the changes.
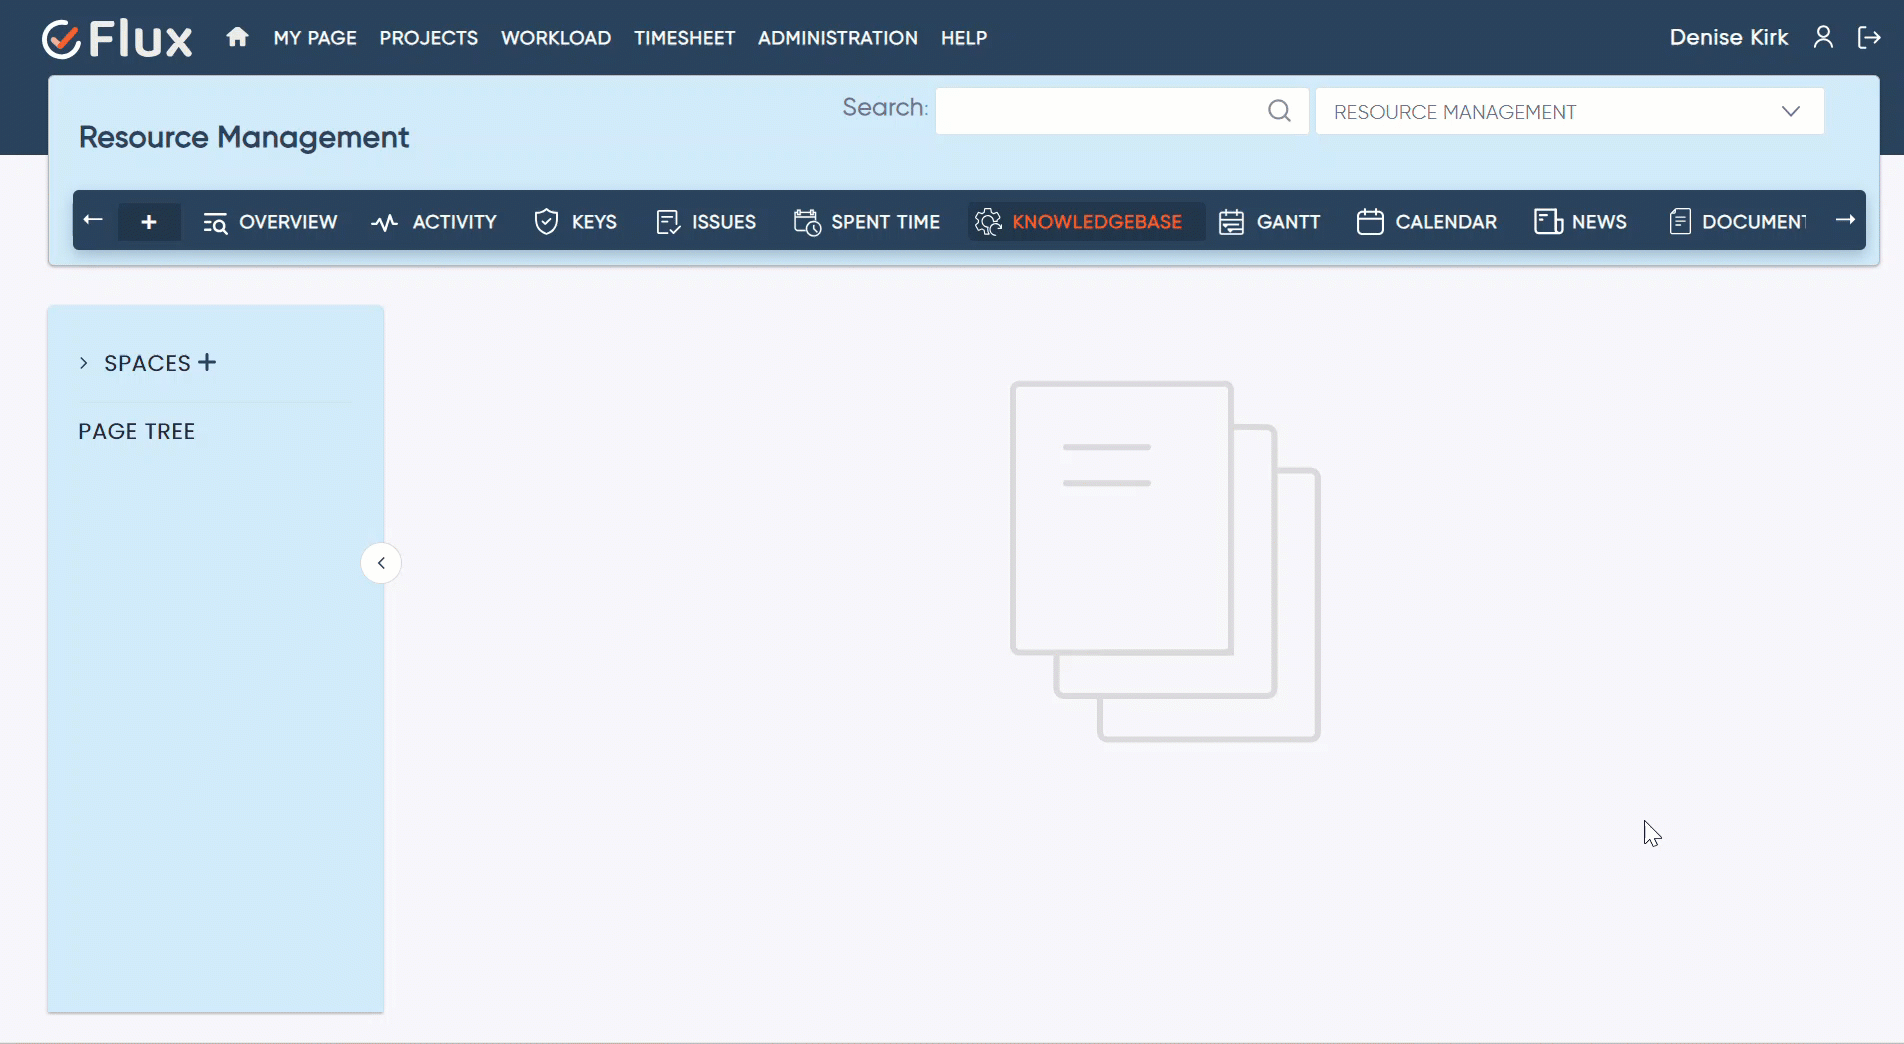
- Navigate to the header tab and click the Knowledgebase tab to see the Knowledgebase page.
- Navigate to the administration area by clicking on the “Administration” link in the top menu.
- Locate the “Roles and Permissions” section and click on it.
- Please select the roles that can access and create the knowledgebase or documents.
- Click on the role name to navigate to the permission section, locate the knowledgebase section, and check the checkbox to grant permissions.
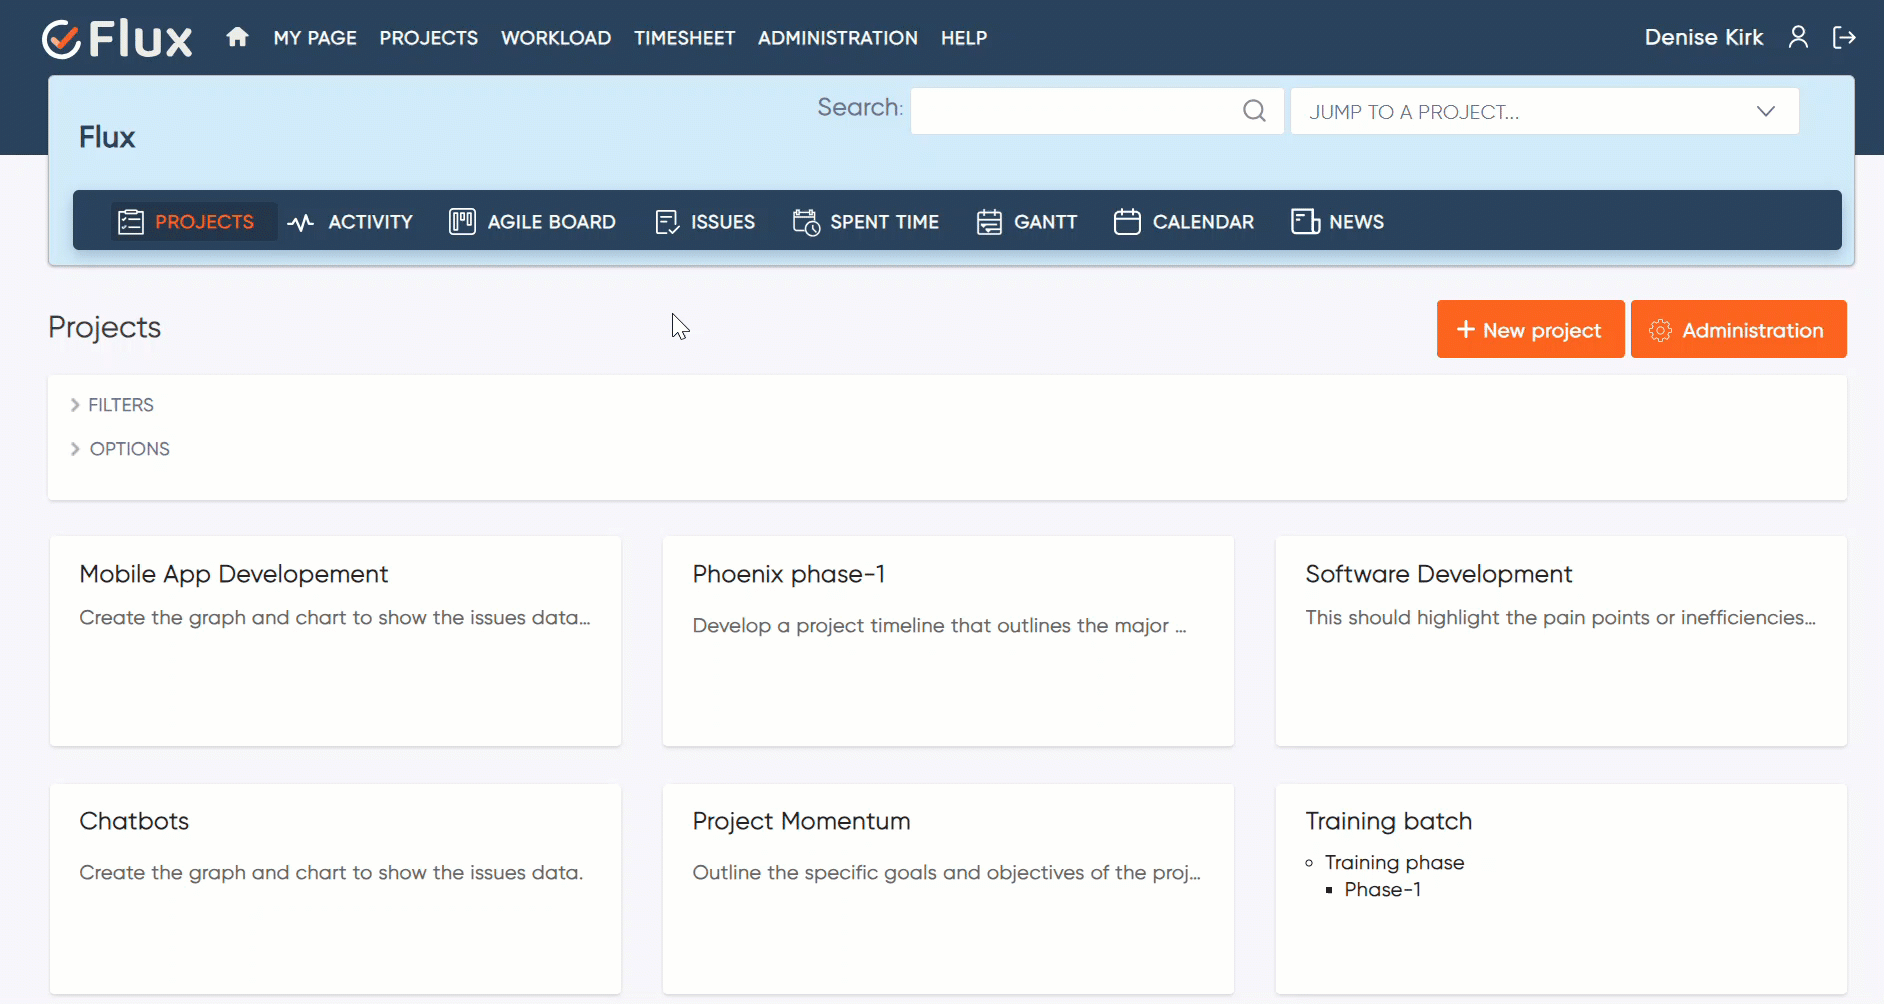
How To #
How to Create Knowledgebase Space or Categories #
- Open the knowledge base page.
- Click on the (+) icon to add a space. This will open a popup for creating a new space. Enter the title for the knowledge base document name.
- Click on the “Next” button to save.
- Click on the space or arrow to display the list of created spaces or document titles.
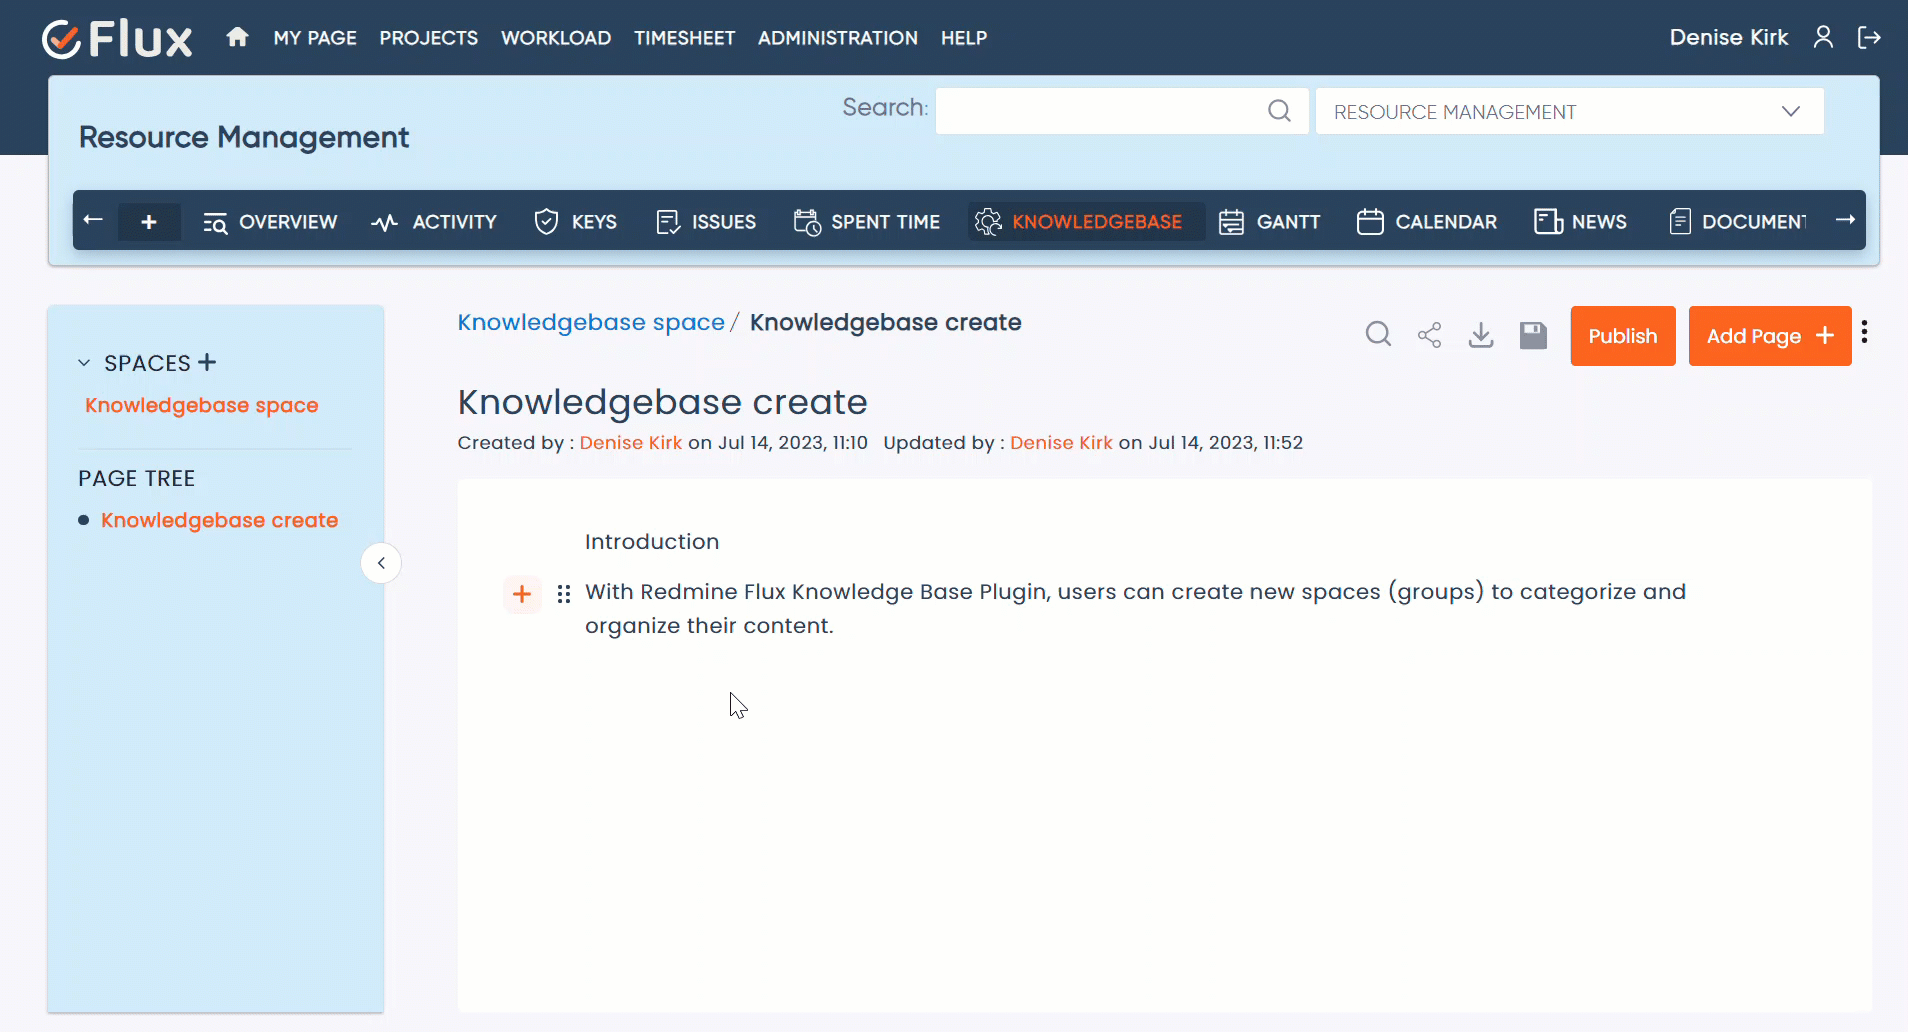
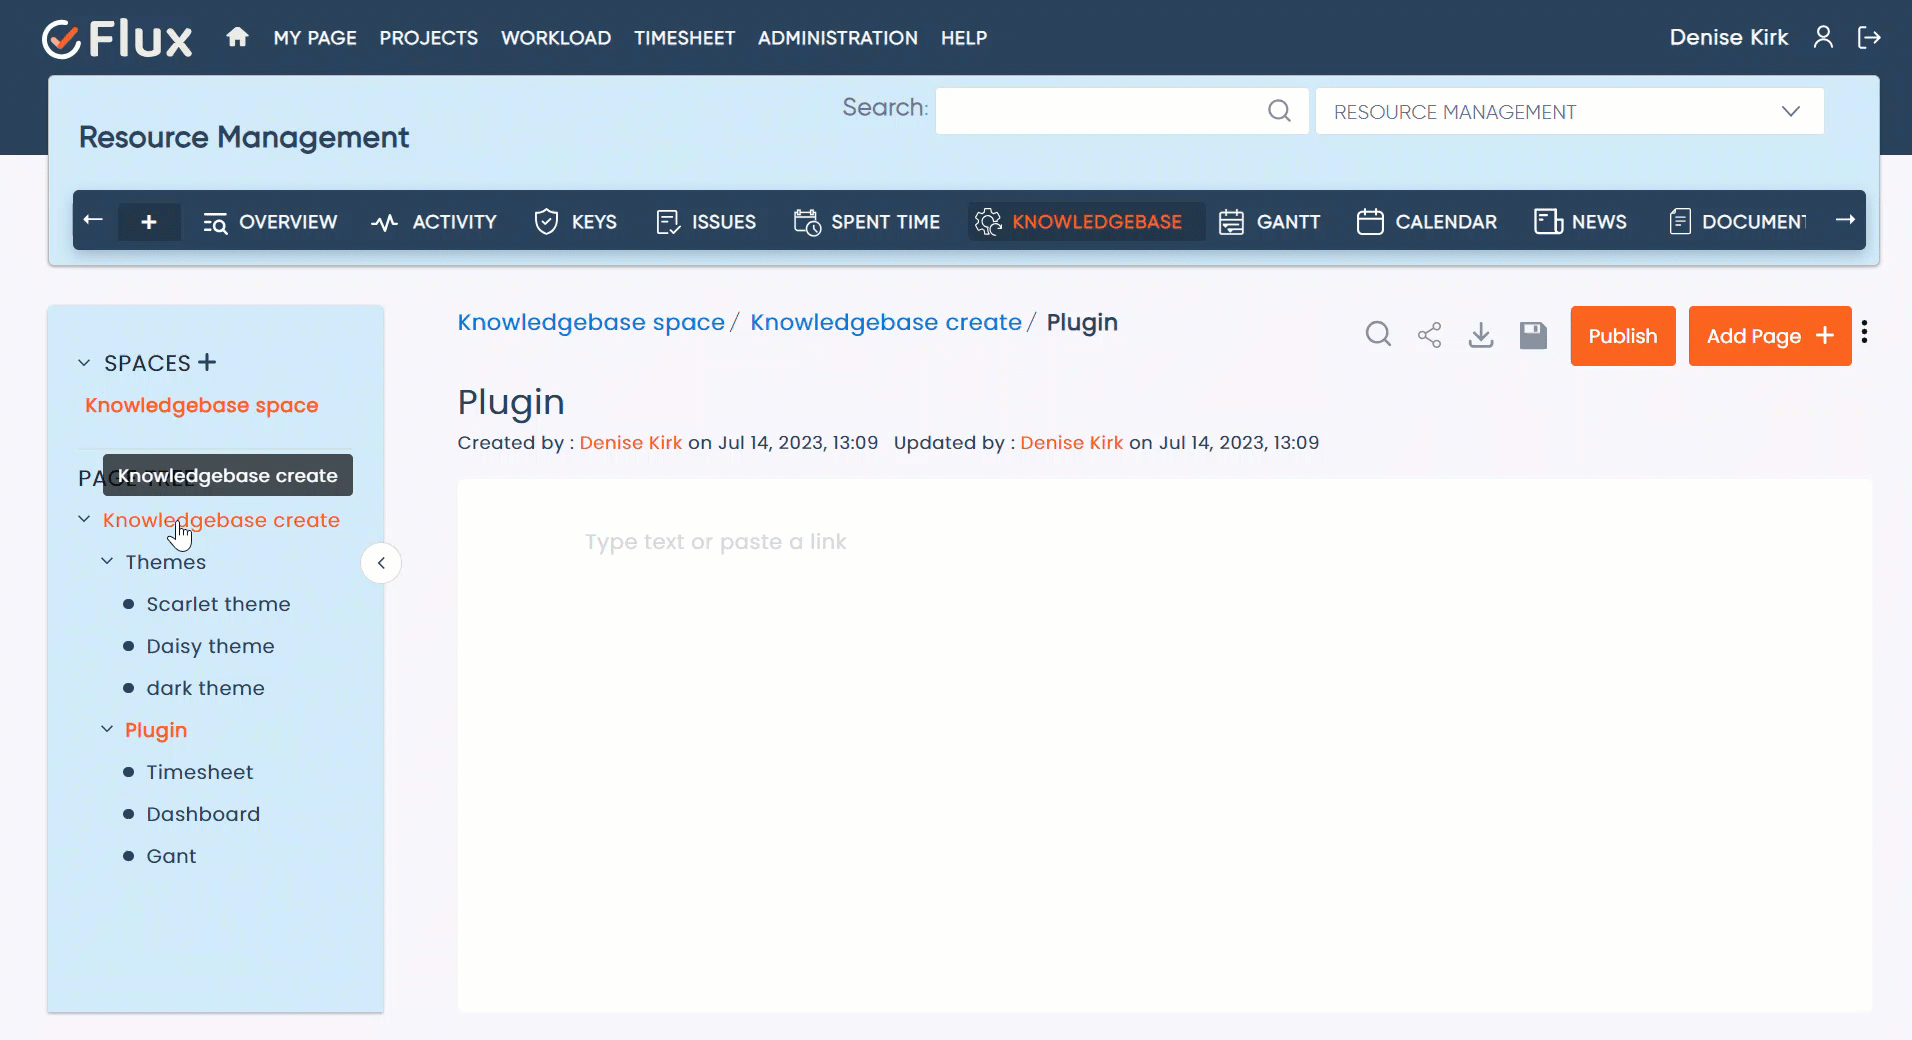
- Open the desired space and click on the “Add Page” button.
- A popup will appear to add a new page. Enter the title for the new page name. Click on the “Next” button to save.
- This will add a page where you can write the document or knowledge base with a revision history.
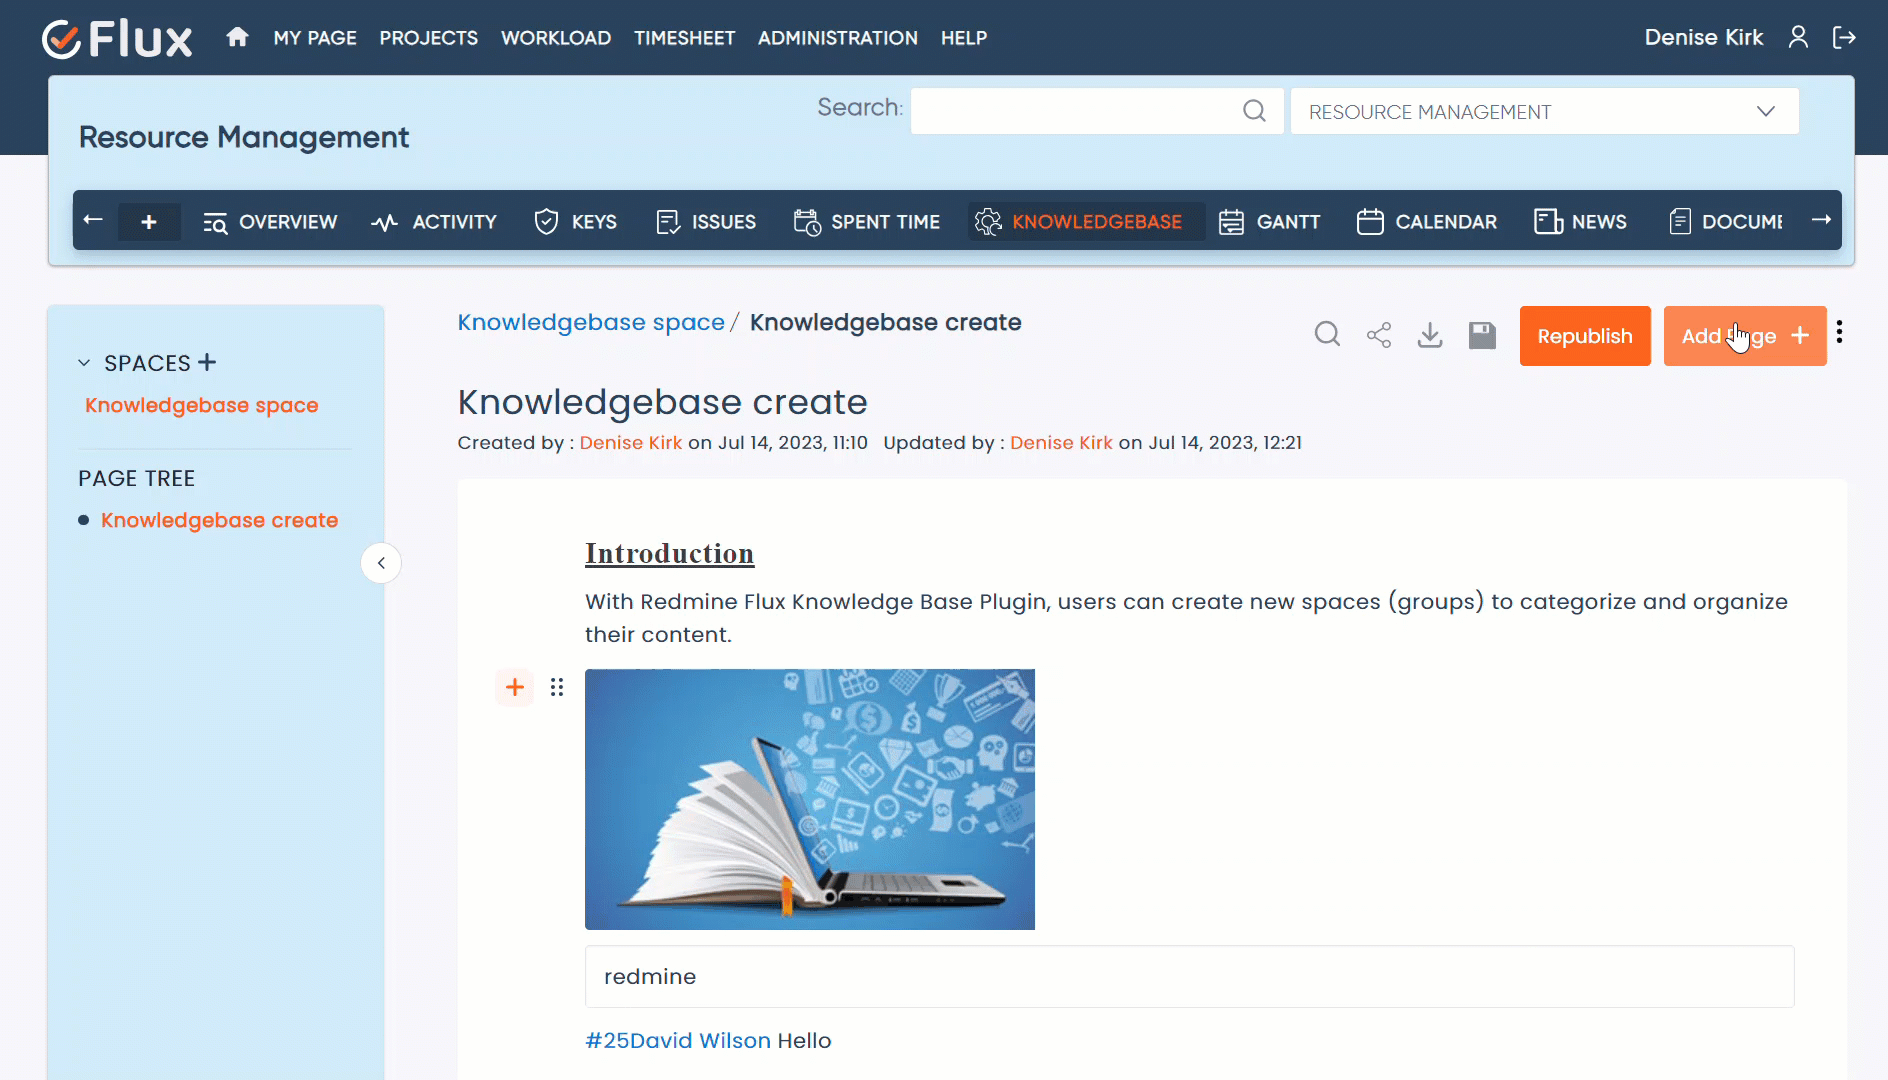
- Enter your content or articles.
- Click on the (+) icon to style the document, such as formatting text, adding headings, creating lists, inserting images, attaching files, creating tables, and more.
- Additionally, users can tag the issue ticket number with “#” and tag the user name with “@”.
- The page is auto-saved while adding content, or you have the option to save it as a draft.
How to Create Sub-Space or Multiple Space #
- Open the knowledge base page.
- Open the desired space and click on the “Add Page” button.
- A popup will appear to add a new page. Enter the title for the new page name. Click on the “Next” button to save.
- Repeat this process to add multiple documents or spaces.
- This will display them in a hierarchical structure on the left sidebar.
How to Customize the Knowledgebase or documents #
Open the knowledge base page. Open the desired space. There are options to customize the knowledgebase or documents
- Search option: Click on the search icon, Use the search bar on the knowledge base page to find articles based on keywords.
- Shareable Link: To obtain a shareable link, click on the share icon, copy the link, and share it.
- Export Page: To export a report or document, click on the download icon, and the report will be downloaded at the bottom of the screen.
- Save As Draft: To save the document or article as a draft, click on the save icon.
- Publish the Article or document: To publish the article or document, click on the publish button. When the article or document is published, all project members will be able to see it.
- Add Page: To add a new page for creating content, click on the add page option.
- Options Menu: Clicking on the options menu will display two options: attachments and page history.
1. Attachments show the files, images, and documents attached to the document, which the user downloaded.
2. Page history displays the document’s creation history, including versions, publishing, and changes made by others.
How to Edit or Delete the Knowledgebase Documents Heading #
- Open the knowledge base page.
- Navigate to the desired space.
- Hover over the space or heading of the documents.
- Click on the pencil icon to edit.
- A popup will appear to update the space.
- Edit or update the title name for the heading.
- Click on the “Next” button to save or update the changes.
- Click on the cross(X)icon to delete the document.
- Confirm the deletion if prompted and delete the document.
How to Copy & Paste and Rearrange the documents. #
- Open the knowledge base page.
- Open the desired space and go to page tree area
- Hover the headings , There are two icons copy and delete
- Click on the copy icon, you want to copy the document and click on the paste icon where you want to paste documents.
- Rearrange the documents: Click and hold the name of document with your mouse or pointer.
- Drag the document to the desired location.
- As you move the document, you should see a visual indicator or placeholder showing where the document will be positioned once you release the mouse button.
- Release the mouse button to drop the document in the new location.
Troubleshooting #
Plugin installation: Double-check that you have correctly installed the plugin. Ensure that the plugin files are placed in the appropriate directory within your Redmine installation. If necessary, reinstall the plugin following the installation instructions provided in the plugin documentation.
Check plugin compatibility: Ensure that the plugin version is compatible with your Redmine installation. Refer to the plugin documentation, redmineflux.com website, or the official Redmine plugins repository for compatibility information.
Clear cache: If you made any changes to the plugin or Redmine configuration, clear the Redmine cache and restart the application.
Check the Redmine logs: Start by checking the Redmine logs for any error messages or warnings related to the plugin. The log files can provide valuable information about the cause of the issue. Look for any specific error messages that may help identify the problem.
Check for conflicts: Disable any other plugins that modify the same fields or interfere with the inline editing feature. Test if the issue persists without those plugins.
Frequently Asked Questions (FAQs) #
Q: Can I export knowledge base articles?
A: The Redmine Flux Knowledge Base Plugin provides the feature to export the articles, To export a report or document, click on the download icon, and the report will be downloaded at the bottom of the screen.
Q: Can I track changes and revisions or History in knowledge base articles?
A: Yes, the Redmine Flux Knowledge Base Plugin keeps track of article versions and revisions. When an article is edited, a new version is created, allowing you to compare different versions and view the revision history. This feature enables you to track changes made to articles over time.
Q: Can I tag the users in the knowledge Base or documents?
A: Yes, You can Tag the users, enter the “@” user list will open, select and tag the user.
Q: What is the purpose of Knowledge Base Plugin?
A: The purpose of the Knowledge Base Plugin for Redmine is to provide a dedicated space within the Redmine project management application for organizing, storing, and sharing knowledge articles. It aims to enhance collaboration, improve productivity, and enable efficient information sharing within an organization.
Uninstallation of Plugin #
- To uninstall the Redmine Flux Knowledge Base Plugin, follow these steps
- Go to the Knowledge Base Plugin directory in Redmine.
- Delete the entire Knowledge Base Plugin directory from Redmine/plugins directory. This step removes the plugin files from your Redmine installation.
- If the plugin required a migration, run the following command to downgrade your database (make a db backup before):
Bundle exec rake redmine:plugins:migrate Name=plugin name VERSION=0 RAILS_ENV=production - Restart the Redmine server to see the changes.
- This will uninstall the Redmine Flux Knowledge Base Plugin from Redmine.
Conclusion #
This Redmine Flux Knowledge Base Plugin enhances the collaboration and information-sharing capabilities of Redmine by providing a dedicated space for organizing and accessing knowledge articles. With the Redmine Flux Knowledge Base Plugin functionality, users can create and manage knowledge base categories and articles, search and browse the knowledge base, track article versions, and engage in discussions around the shared knowledge.


